As I have told many times, woven squares are my weakness (sounds nerd, I know..) , but they are so easy and fast to do and the possibilities are so endless that I just cannot resist!
I will stop explaining and start doing! So now I invite you to make with me a lovely plaid basket for multi uses, here we go!
The first step is to weave 5 woven squares in a 30x30cm (12″) pin loom. If you have that size of pin loom that is great. You can also use my Kayu or Relmu if you own them.
Obviously, you can repeat the process using a different size of pin loom, it would be quite easy. And you can also crochet or knit the square if you like. It is just that this version is pin loom woven, all right?
So, I wove my squares using the Kayu and number 3-4 yarn (Worstead/DK) double, using two color tones: pale turquoise+dark turquoise, terracote+orange, violet+dark purple, etc. You can also use just 1 strand of yarn, but it has to be bulky (5-6). It really depends on the style of design you want to achieve.
I only did the simple stitch, not complex stitches at this point. The basic instructions to do so are HERE for instant download.
Below you can see the diagram of the resulting piece, which follows this sequence:
Purple (P), Turquoise (T), Mandarine (M)
10M – 11P – 10T

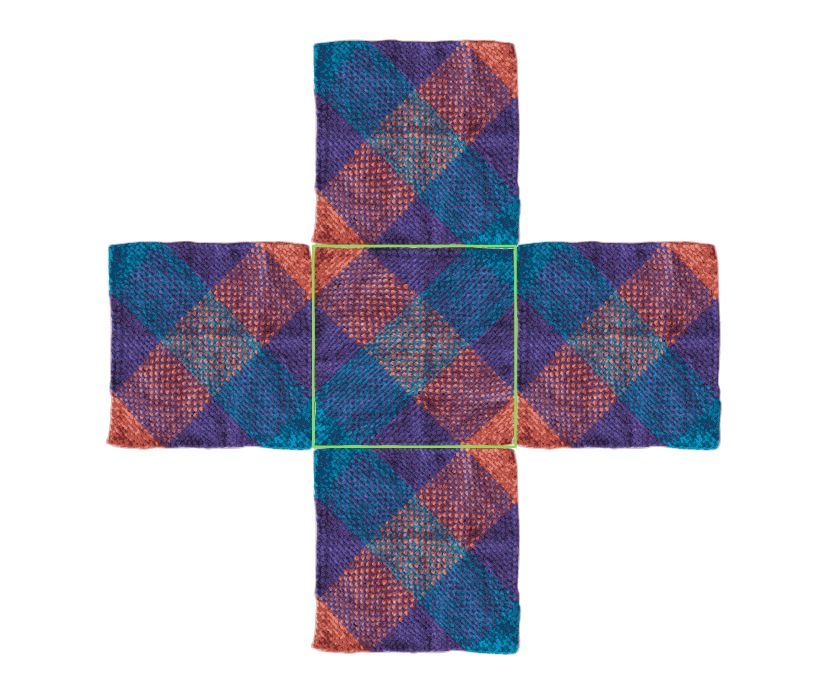
Once the 5 woven squares are finished, position them as shown below and sew them as shown in green. Remember that this weaving technique doesn`t has front or reverse sides, so just choose the front side as you wish to start sewing.
The instructions to sew these squares are also available for instant download HERE.

Then sew the 8 edges as shown by the arrows:

Now you should loose ends or.. just hide them while folding half down the 4 sides of the basket, as shown below.
(If you still want to loose ends properly, download the instructions in the link detailed before).


To structure the basket, find a bulky yarn of a similar color, cut 4 pieces (20 cm each) and use them to tie each corner as shown:


Then cut the pieces of yarn 7 cm long so they are all the same length.
Now, what I find the most amazing feature of this design is that it is not only gorgeous, it is also practical! You can easily fold it and store it!


Want to see the result? Violà!


I hope you liked it and I hope to see your results! Please share you own version of this basket so we can all feedback 🙂
Let`s create happy!
FlorenciaCC

Leave a comment